Custom Auth Configs
Customize auth configs for any toolkit
Many toolkits support a level of customization for the auth config, specifically OAuth applications.
This guide will walk you through the process of customizing the auth config for toolkits where you can configure your own developer app.
Creating a custom auth config
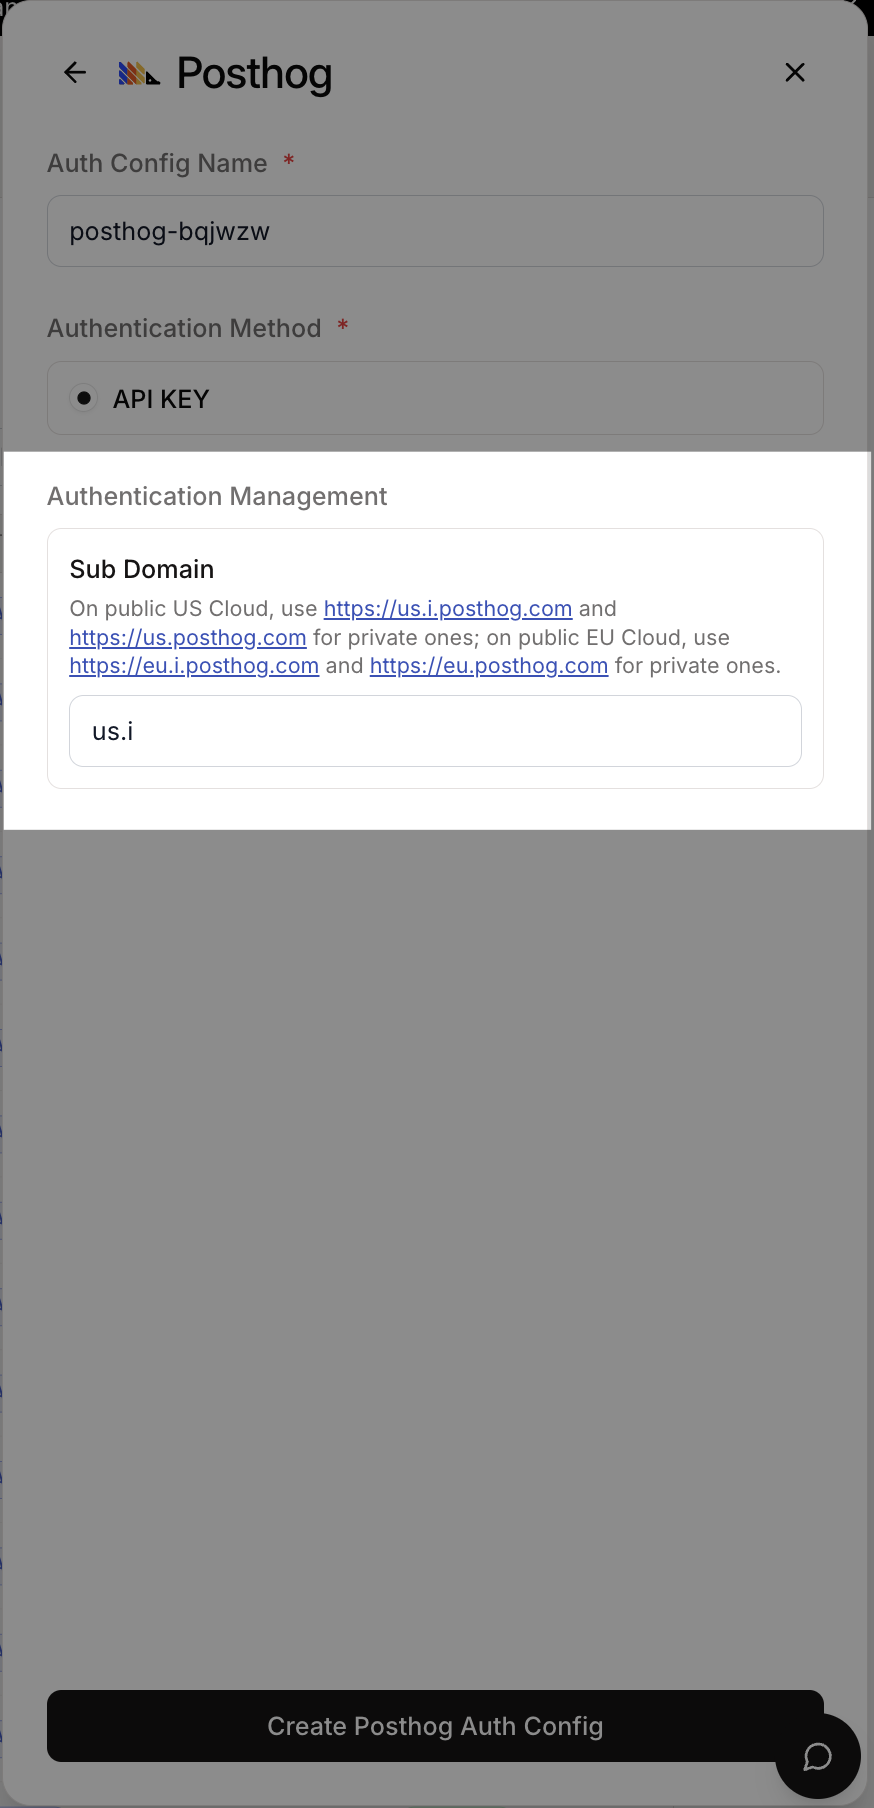
To create a custom auth config, click Create Auth Config in your dashboard, then navigate to Authentication management → Manage authentication with custom credentials.
You'll need to customize the auth config when you want to use different values than the defaults - such as your own subdomain, base URL, client ID, client secret, etc.
You may change the subdomain for the PostHog toolkit to match your own instance.
For Hubspot you may customize everything here. For each auth scheme there is a different set of fields.
If you choose to use your own developer app for the OAuth2 scheme, you will have to provide the client ID and client secret.

Toolkits that support OAuth2 allow using your own developer app. This is the recommended approach for most cases.
Use your own developer app!
We recommend using your own developer app for the OAuth2 scheme as it is more suited for production usage with many users and more granular control over scopes.
However, getting OAuth approvals takes time, so Composio provides a default developer app!
OAuth2 Auth Configs
Generate the OAuth Client ID and Client Secret
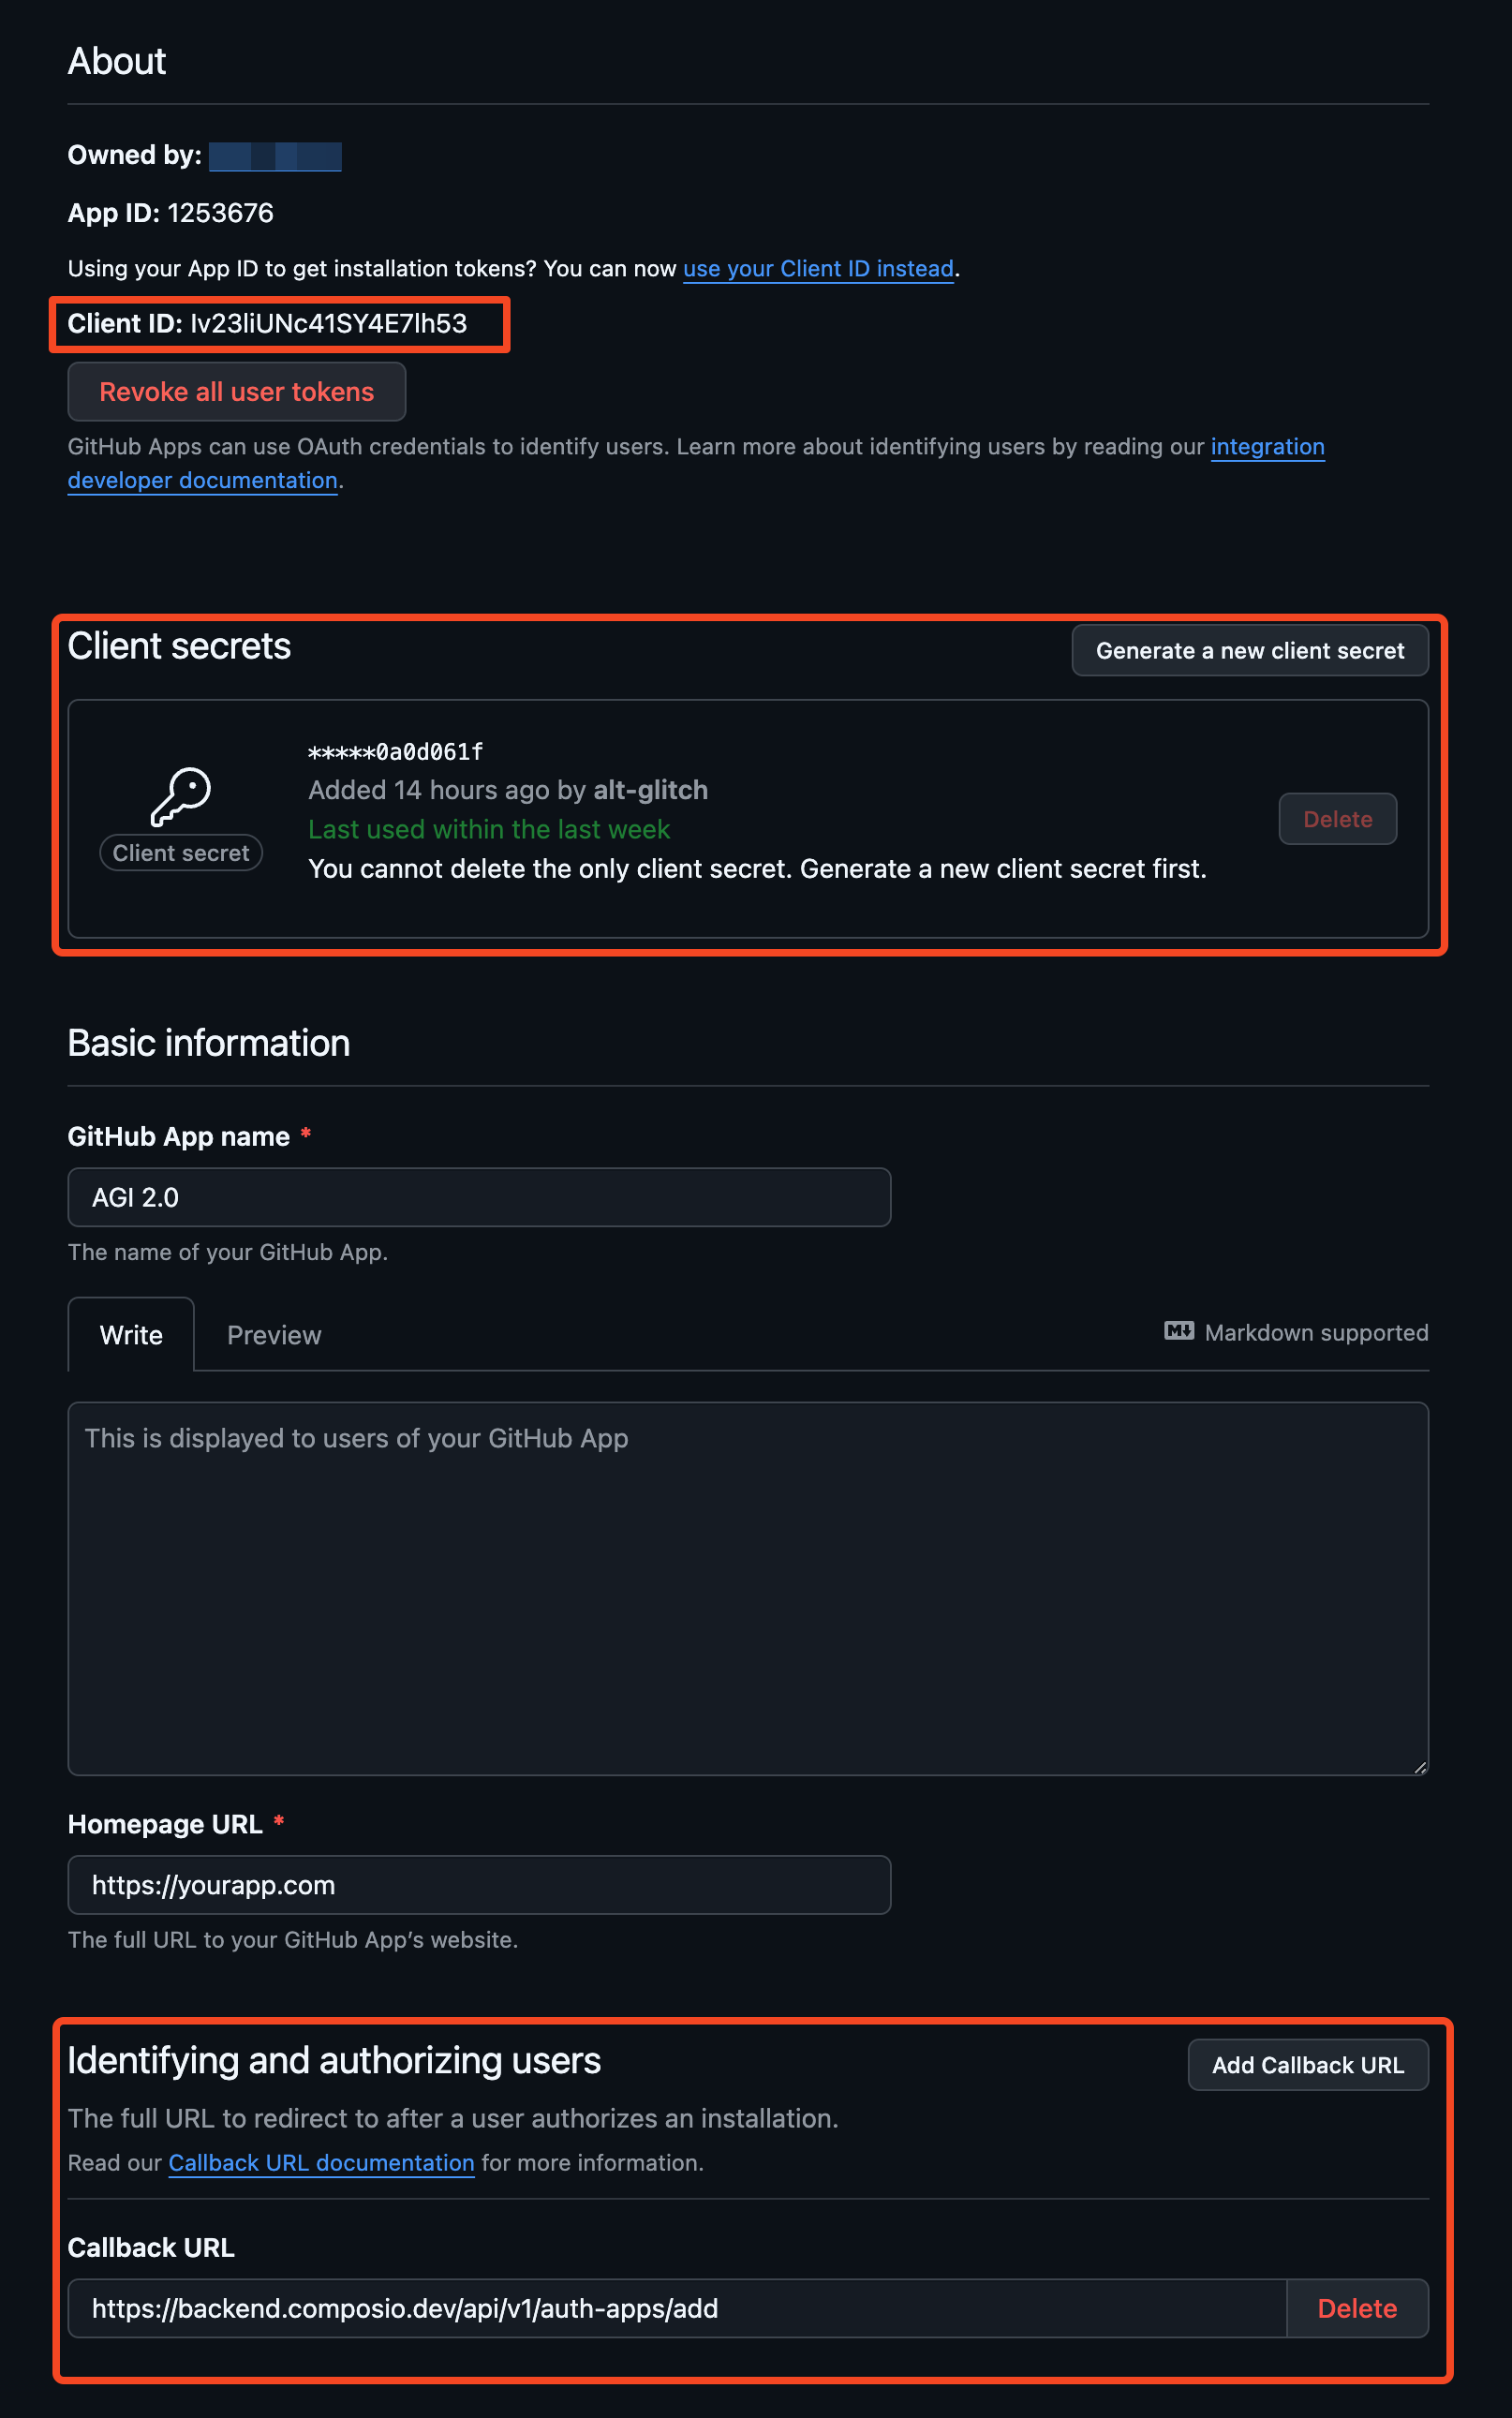
To set up a custom OAuth config, you'll need the OAuth Client ID and Client Secret.
You can generate the client ID and client secret from your provider's OAuth configuration page.
Examples for Google and GitHub:

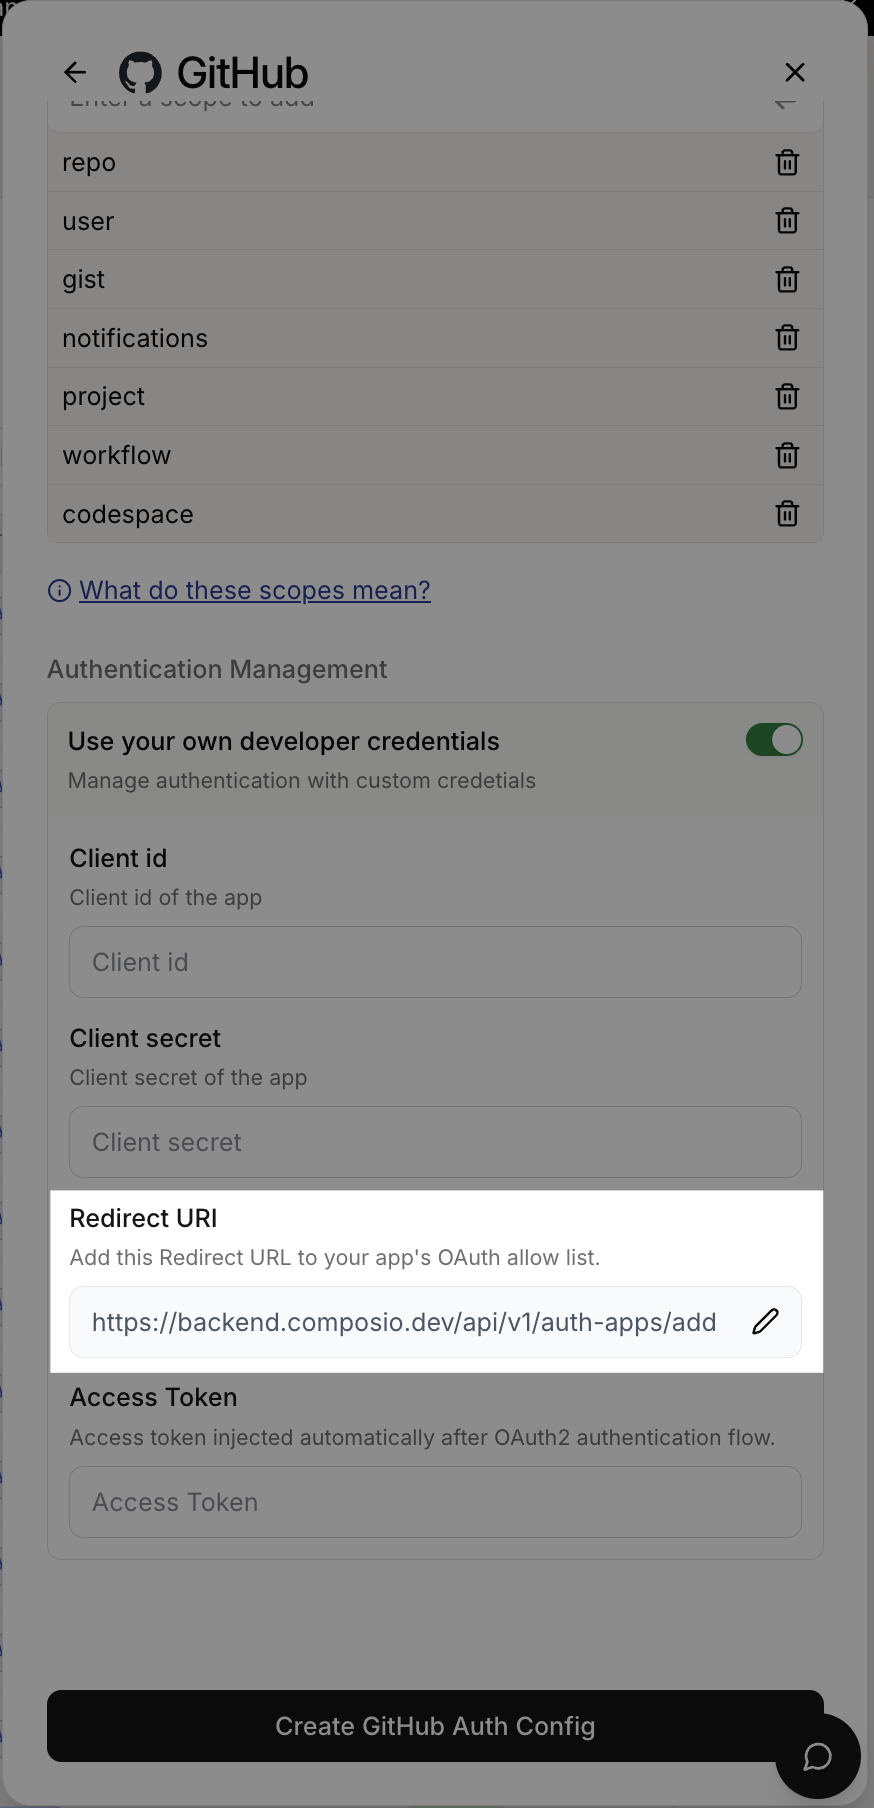
Set the Authorized Redirect URI
When creating your OAuth app, make sure to configure the Authorized Redirect URI to point to the Composio callback URL below:
https://backend.composio.dev/api/v3/toolkits/auth/callbackCreate the auth config
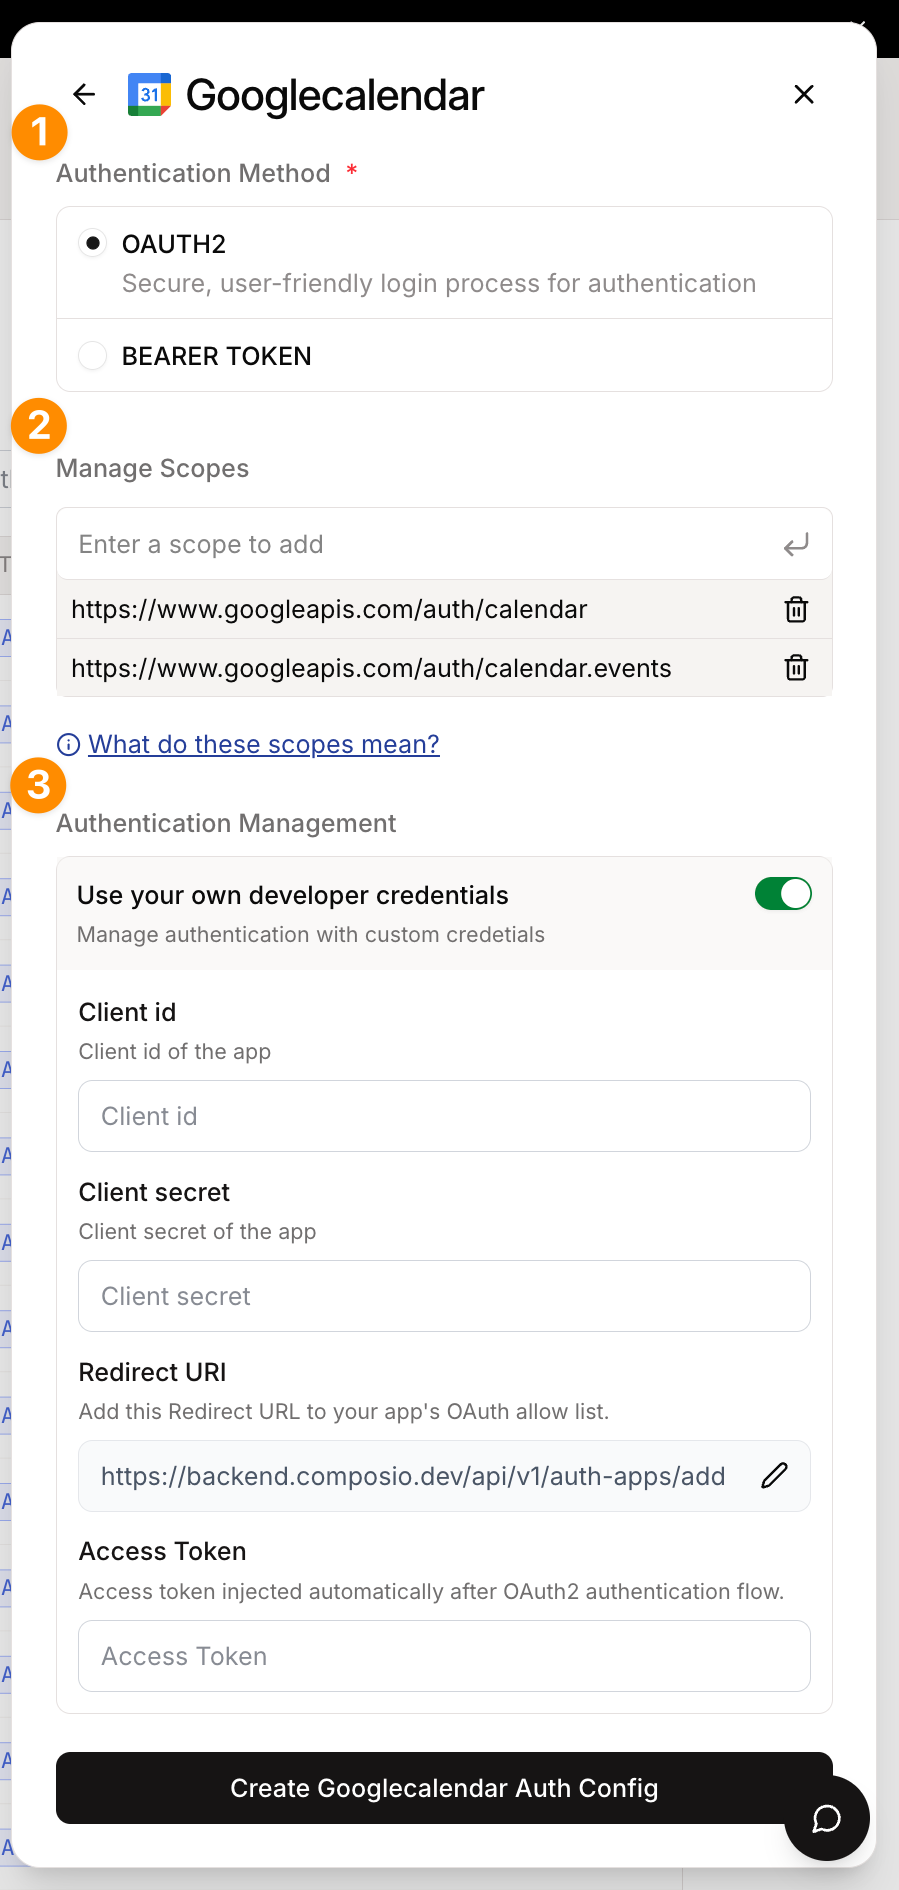
Once you have the OAuth credentials, you can add them to the auth config in the dashboard.
- Select the OAuth2 scheme.
- Select the scopes to request from users. Default scopes are pre-filled for most apps.
- Add the OAuth client ID and client secret for your developer app. Keep the redirect URL as is for now!
- Click Create!
This auth config is now ready to be used in your application!
# Create a new connected account
connection_request = composio.connected_accounts.initiate(
    user_id="user_id",
    auth_config_id="ac_1234",
)
print(connection_request)

# Wait for the connection to be established
connected_account = connection_request.wait_for_connection()
print(connected_account)
const connReq = await composio.connectedAccounts.initiate(userId, "ac_1234");
console.log(connReq.redirectUrl);
const connection = await composio.connectedAccounts.waitForConnection(
connReq.id
);
console.log(connection);White-labeling the OAuth Consent Screen
By default the users will see an OAuth screen like the one below:
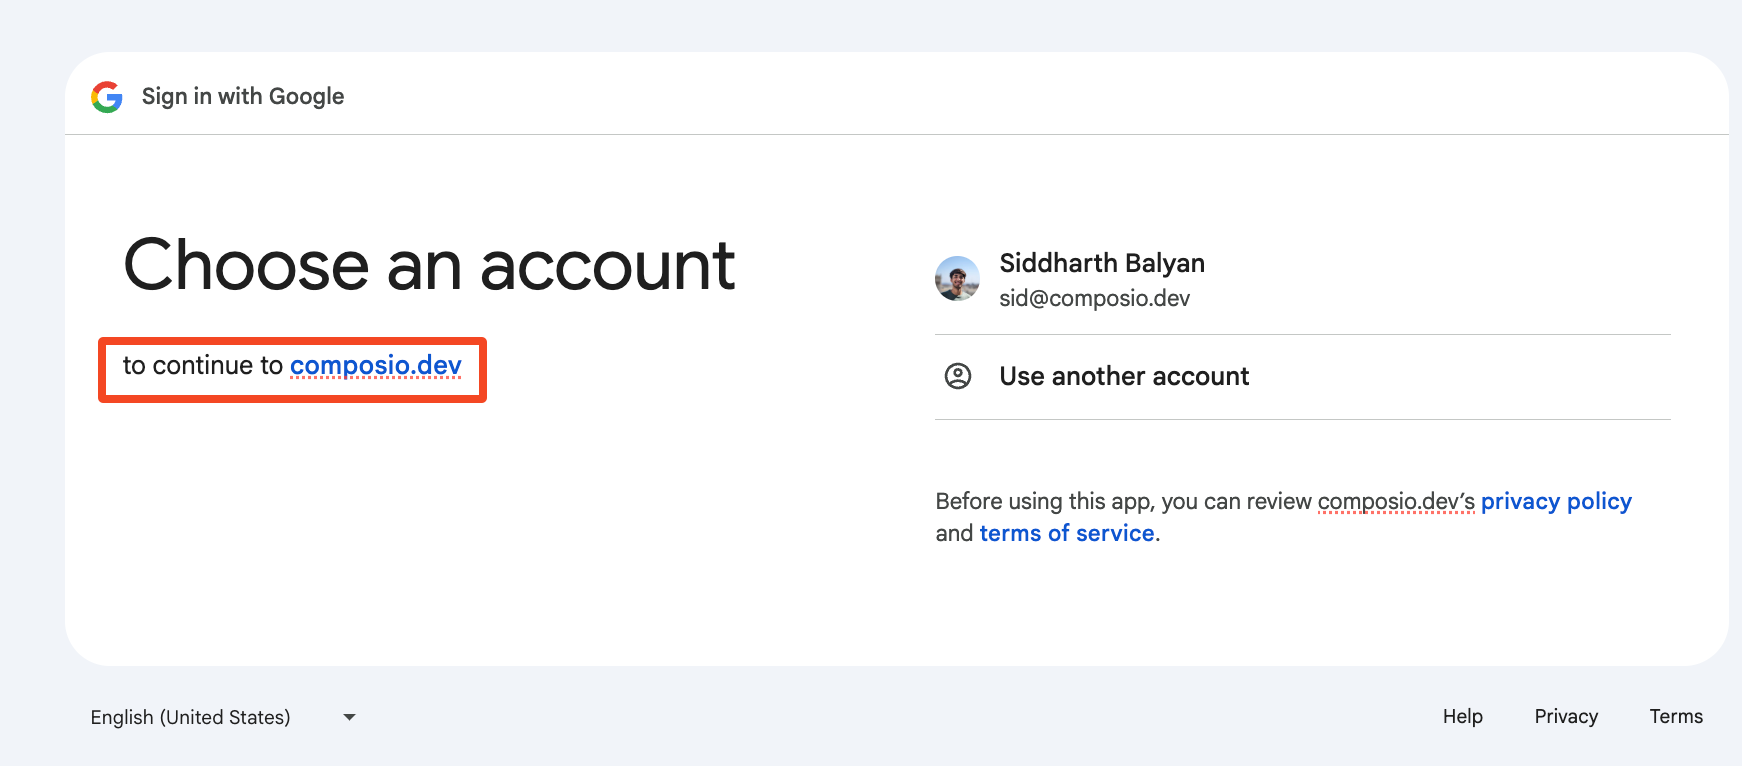
The OAuth redirect URL is surfaced in some OAuth providers' consent screens. This may cause confusion for some users as that URL is not of the same domain as the application.
To remediate this:
Set the Authorized Redirect URI
Specify the Authorized Redirect URI to your own domain in the OAuth configuration. For example:
https://yourdomain.com/api/composio-redirectCreate a redirect logic
Create a redirect logic, either through your DNS or in your application to redirect that endpoint to https://backend.composio.dev/api/v3/toolkits/auth/callback
Example: API Route for OAuth Redirect
from fastapi import FastAPI
from fastapi.responses import RedirectResponse

from composio import Composio

# Create a FastAPI app
app = FastAPI()

# Create a Composio client
composio = Composio()


@app.get("/authorize/{toolkit}")
def authorize_app(toolkit: str):
    # retrieve the user id from your app
    user_id = "<user_id>"

    # retrieve the auth config id from your app
    auth_config_id = "<auth_config_id>"

    # initiate the connection request
    connection_request = composio.connected_accounts.initiate(
        user_id=user_id,
        auth_config_id=auth_config_id,
    )
    return RedirectResponse(url=connection_request.redirect_url)
import type { NextApiRequest, NextApiResponse } from 'next';
export default function handler(req: NextApiRequest, res: NextApiResponse) {
// The target Composio endpoint that handles OAuth callbacks
const composioEndpoint = 'https://backend.composio.dev/api/v3/toolkits/auth/callback';
// Extract and preserve all query parameters
const queryParams = new URLSearchParams();
Object.entries(req.query).forEach(([key, value]) => {
if (typeof value === 'string') {
queryParams.append(key, value);
}
});
// Redirect to Composio with all query parameters intact
const redirectUrl = `${composioEndpoint}?${queryParams.toString()}`;
res.redirect(302, redirectUrl);
}Create the auth config
Specify your custom redirect URI in the auth config settings!
With this setup, you can use https://yourdomain.com/api/composio-redirect as your OAuth redirect URI, which will create a better user experience by keeping users on your domain during the OAuth flow.